In this article, we will describe how to install WordPress locally using the local Flywheel application. This is the way we should develop a WordPress website locally. This application makes it a lot easier. Let’s see it in action.
Time needed: 5 minutes
Total installation and running of a website through local by flywheel. Application download time will vary cause it depends on internet speed.
- Step 1: Getting Local by Flywheel
As the name suggests this is a straightforward process. Go to the official website for local by Flywheel. Click the download button in the top right corner. It will ask you to choose an operating system. After choosing your desired platform it asks for your personal details. Provide the necessary information and click on Get It Now button. The download will start shortly.
- Step 2: Installing Local by Flywheel to Install WordPress locally
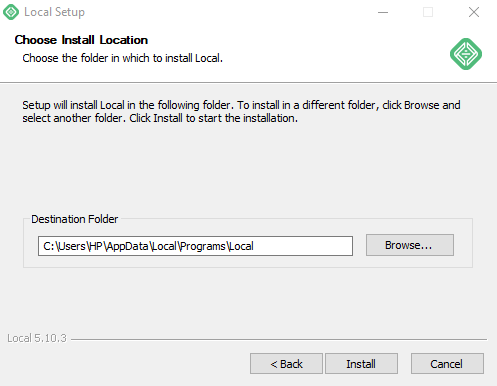
After downloading navigates to the downloaded location. Double-click to start the installation. If windows pop up coming up User Account Control(UAC) Click yes. Click next, choose destination folder then click install.
- Step 3: Installing WordPress Local PC
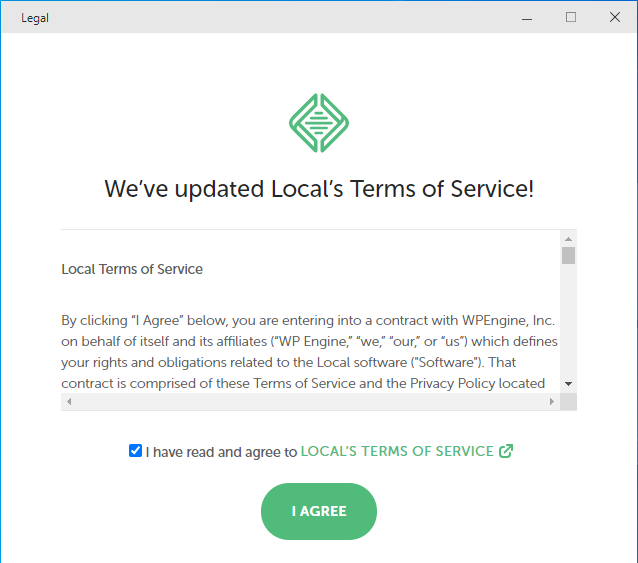
After clicking on finish, the software will prompt you to accept the terms of service. Check the box and click I agree to launch the program.
- Step 4: Launching Local by Flywheel
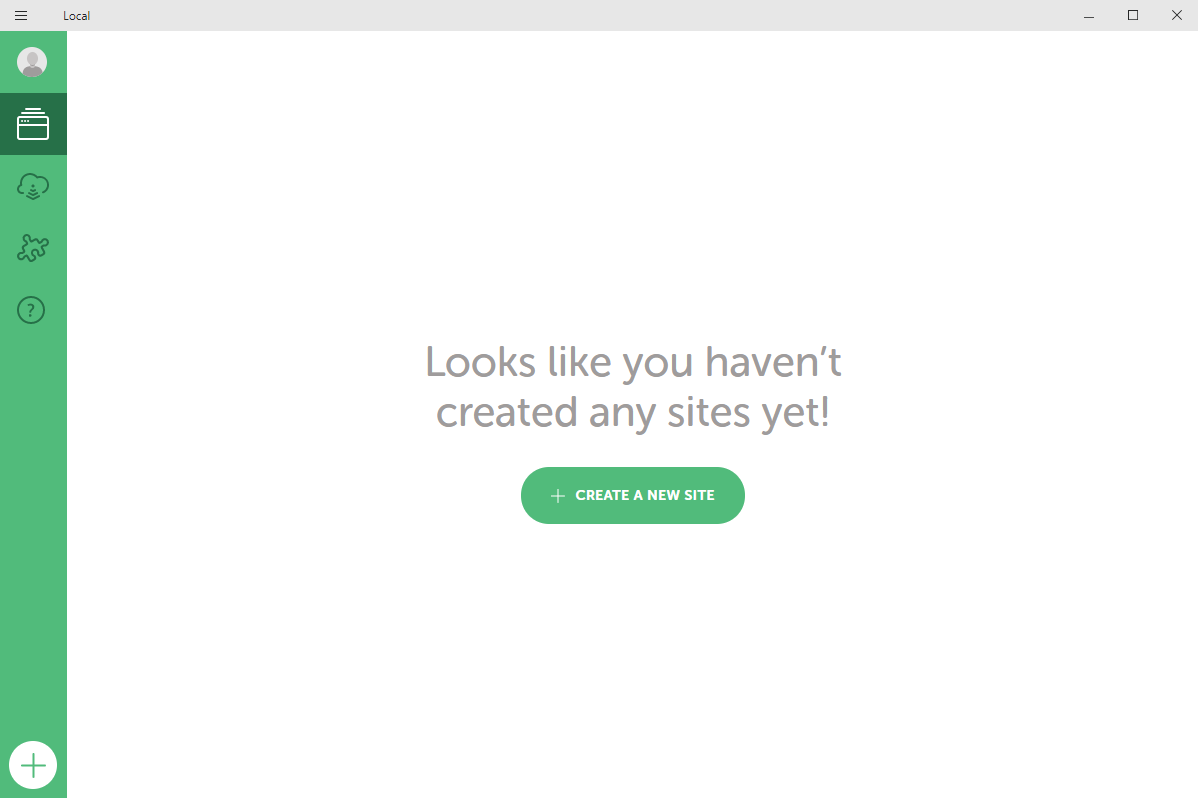
After this wizard will prompt for error repotting. You can allow it to improve their product or you can click No as well. Then the main wizard will launch. Which should look like this.
- Step 5: Create First Site On Pc Local by Flywheel
Since we don’t have any local site yet we need to create one. We can do it by clicking Create New Site button or we can click the plus symbol in the lower left corner. Both will take us to the next screen.
- Step 6: Name First Site On Local by Flywheel
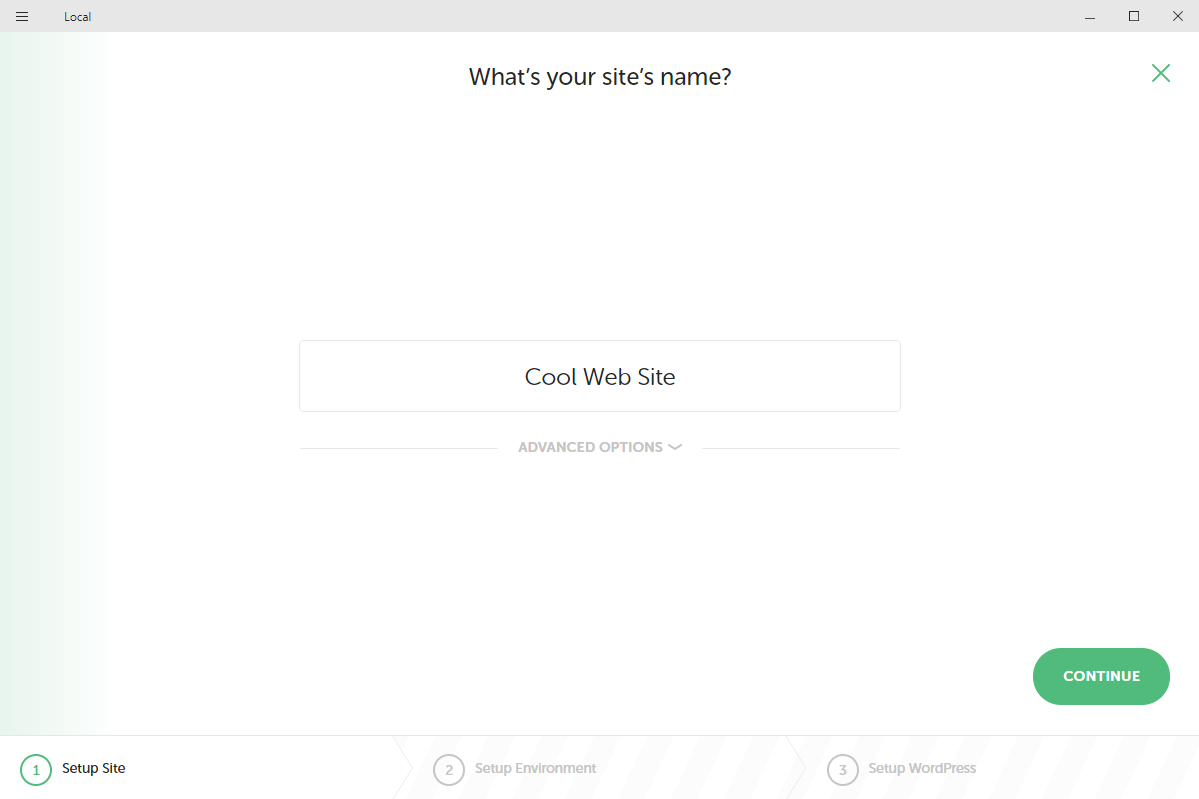
In this section, we give our site a name In this case “Cool Web Site”. Then click Continue. In the next wizard, click Continue again.
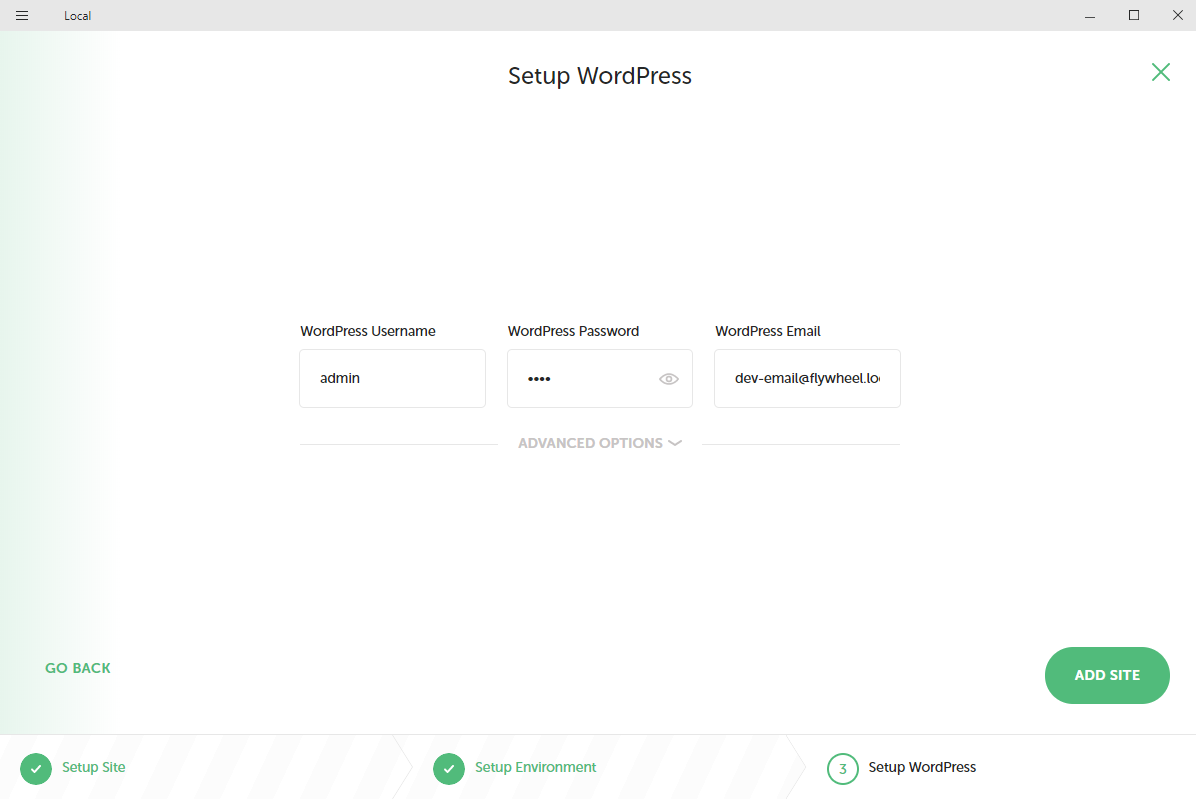
- Step 7: Set Username And Password For Local Site
Choose a username and password here, which will be needed to log in to our website later. Most people use admin as their username. Which is fine for a local development environment. But for production sites use a different username and a strong password. After this click “add site” to begin the installation. The wizard will download and install everything by itself.
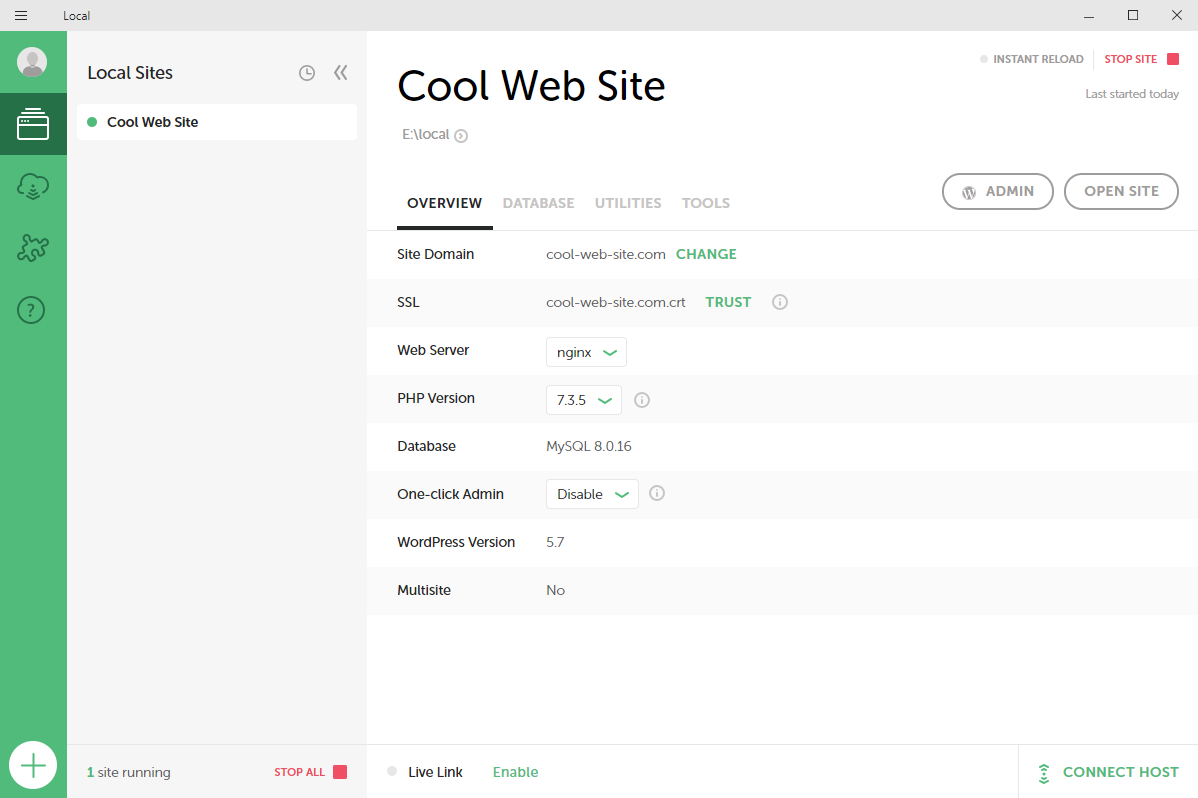
- Step 8: Opening Local Site For The First Time
At this stage, our website is ready to explore. Simply click on “Open Site”. It will open in our default browser.
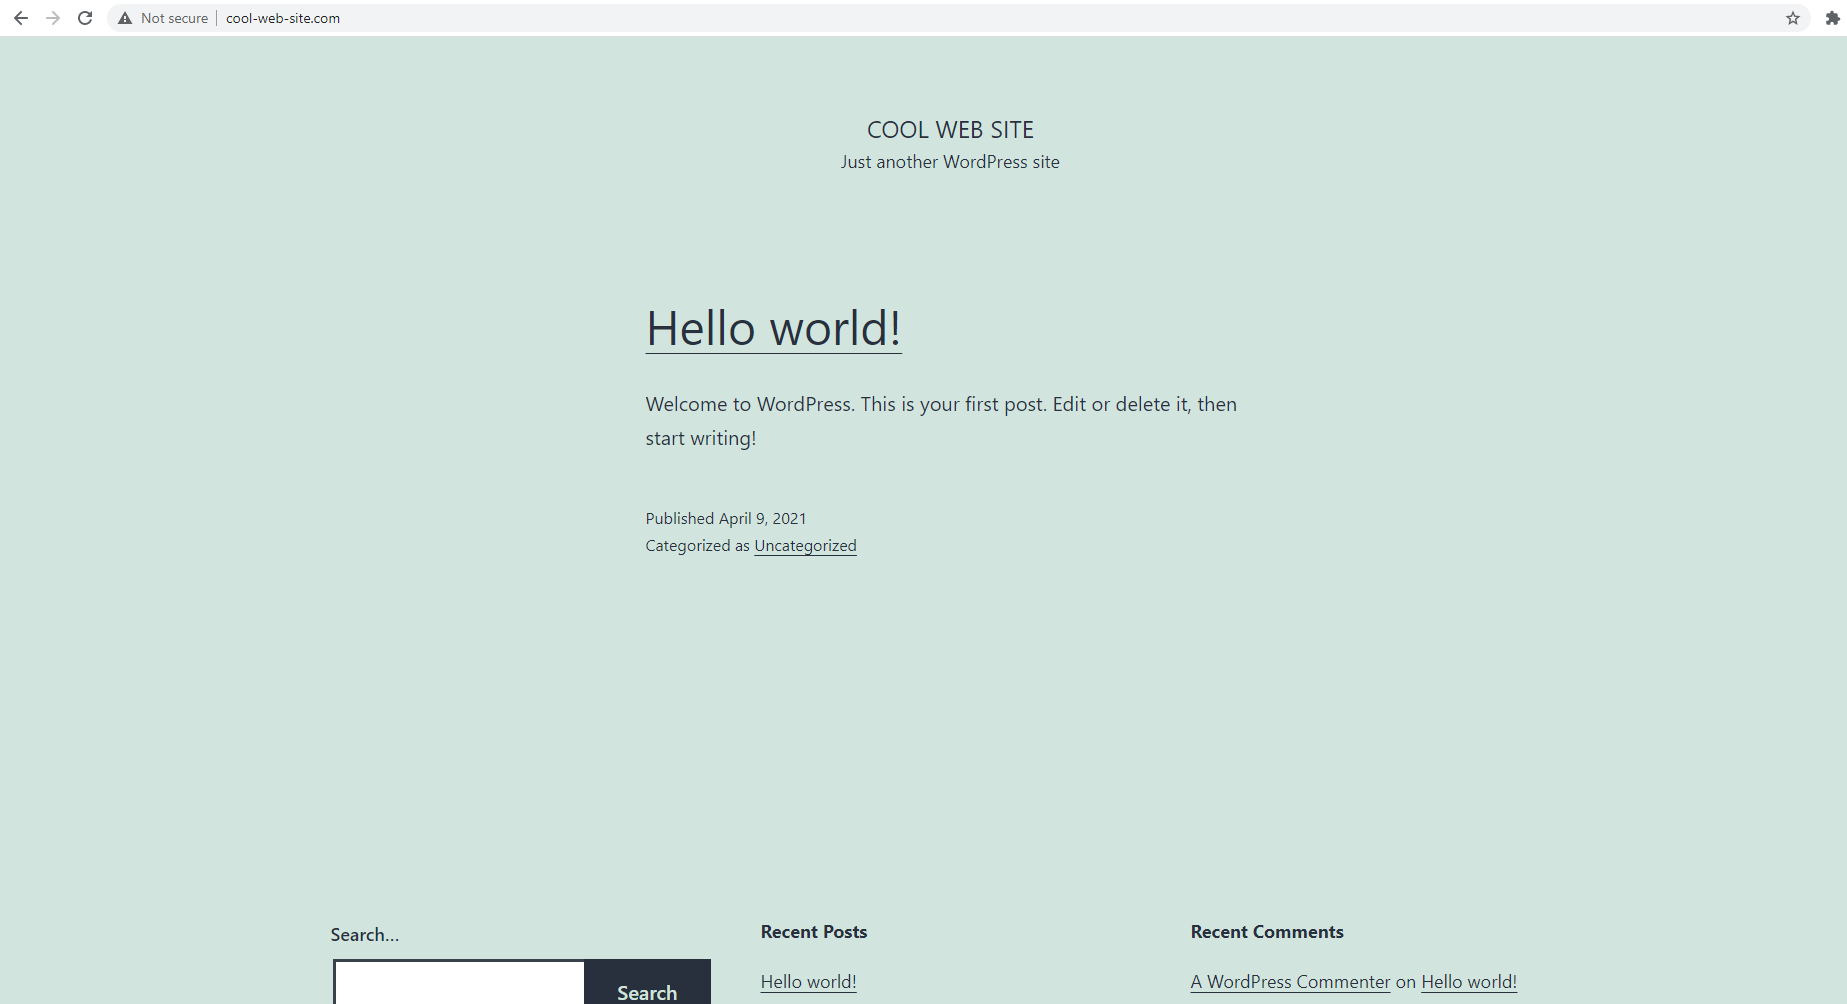
- Step 8: See it on the browser for the first time
After launching the site it looks like this. Which is fine, now we have a clean slate to work with. We just need to populate our own content and made our local site ready for the production server.
Step 9: Final Thought.
This is the final stage where our website is ready for development. After adding some elements, it will be ready for the production site. This is how we can install the site in Local by Flywheel.